> ## Documentation Index
> Fetch the complete documentation index at: https://docs.emailbison.com/llms.txt
> Use this file to discover all available pages before exploring further.
# Custom Variables
A custom variable is EmailBisons way of attaching any extra information to a lead.
Custom Variables need to be created before they can be attached to leads with a custom value for each lead.
Note: custom variables are unique per workspace
## Creating Custom Variables
You can create a custom variable by submitting a `POST` request at the [following endpoint](https://dedi.emailbison.com/api/reference#tag/custom-lead-variables/post/api/custom-variables).
```bash theme={null}
/api/custom-variables
```
The only field you can and must provide is `name`, which is a name for the custom variable.
## Attaching Custom Variables to Leads
When you are creating or updating a lead - either with a `POST` or a `PUT` - you can pass the `custom_variables` field as an array of objects that contain a `name` key and a `value` key. The JSON will look like the following.
```json theme={null}
"custom_variables": [
{
"name": "phone_number",
"value": "123-456-7890"
},
{
"name": "priority",
"value": "super-high"
}
]
```
Note how the everything is wrapped in an array identifier `[]`, and each custom variable is wrapped in an object identifier `{}`
An example of adding custom variables when updating leads:
```Bash curl {9-14} theme={null}
curl https://dedi.emailbison.com/api/leads \
--request PUT \
--header 'Content-Type: application/json' \
--header 'Authorization: Bearer YOUR_SECRET_TOKEN' \
--data '{
"first_name": "John",
"last_name": "Doe",
"email": "john@doe.com",
"custom_variables": [
{
"name": "phone number",
"value": "9059999999"
}
]
}'
```
```JavaScript JavaScript {11-14} theme={null}
fetch('https://dedi.emailbison.com/api/leads/{lead_id}', {
method: 'PUT',
headers: {
'Content-Type': 'application/json',
Authorization: 'Bearer YOUR_SECRET_TOKEN'
},
body: JSON.stringify({
first_name: 'John',
last_name: 'Doe',
email: 'john@doe.com',
custom_variables: [{
name: 'phone number',
value: '9059999999'
}]
})
})
```
```Python Python {10-15} theme={null}
headers = {
'Content-Type': 'application/json',
'Authorization': 'Bearer YOUR_SECRET_TOKEN',
}
json_data = {
'first_name': 'John',
'last_name': 'Doe',
'email': 'john@doe.com',
'custom_variables': [
{
'name': 'phone number',
'value': '9059999999',
},
],
}
response = requests.put('https://dedi.emailbison.com/api/leads/{lead_id}', headers=headers, json=json_data)
```
Refer to [Leads](/leads/creating-a-lead#ui) on uploading a CSV using the UI.
1. Include Custom Variables as columns in the CSV.
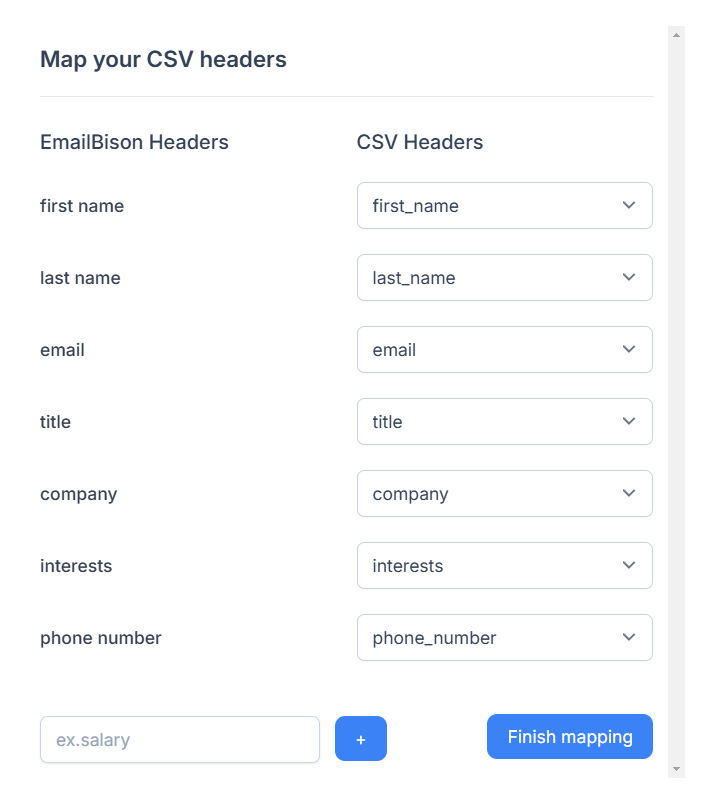
 2. Once you upload the CSV, the UI will ask you to map your headers.
During this step, click on `Add custom variable`, enter a name for your variable and click the `+` button.
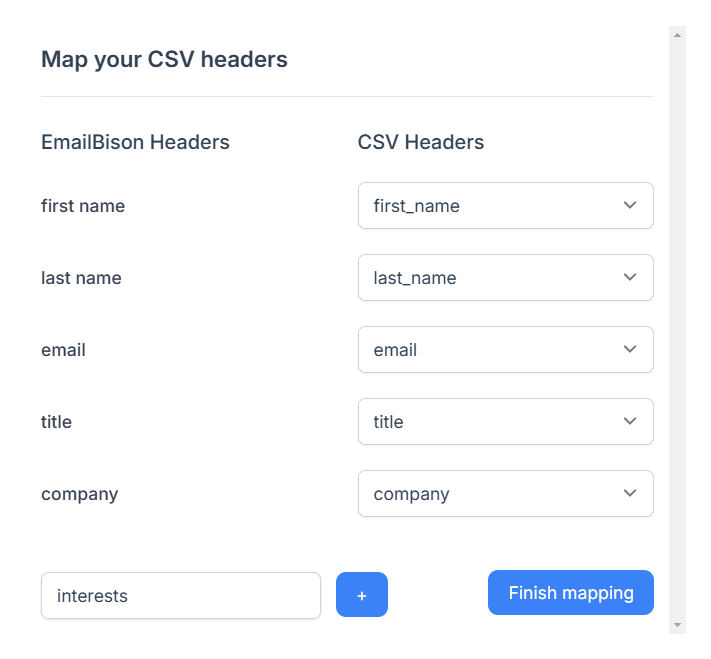 3. After following the first and seconds steps, map your custom variables to the CSV headers.
For example, map the `phone number` custom variable to the `phone_number` CSV header.